
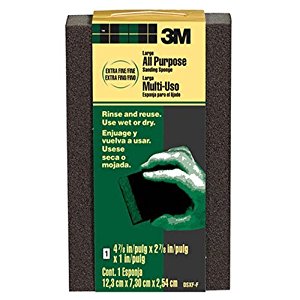
Stage 1 - I lightly sanded with a rubber sanding block.


Stage 3 - Don't get nervous and think it's not working out as planned. It looks funky but it is supposed to. Remember I used an all in one product.

Stage 4 - I let the satin absorb for about 15 minutes. I lightly sanded with 400 grit sandpaper and wiped again with a paper towel and tack cloth. At this point, you could use a wax and be done or add another coat if you're looking for a darker stain.

Stage 5 - I wanted more shine - I used a coat of clear poly.

Adding the coat of poly gave me the look I wanted.
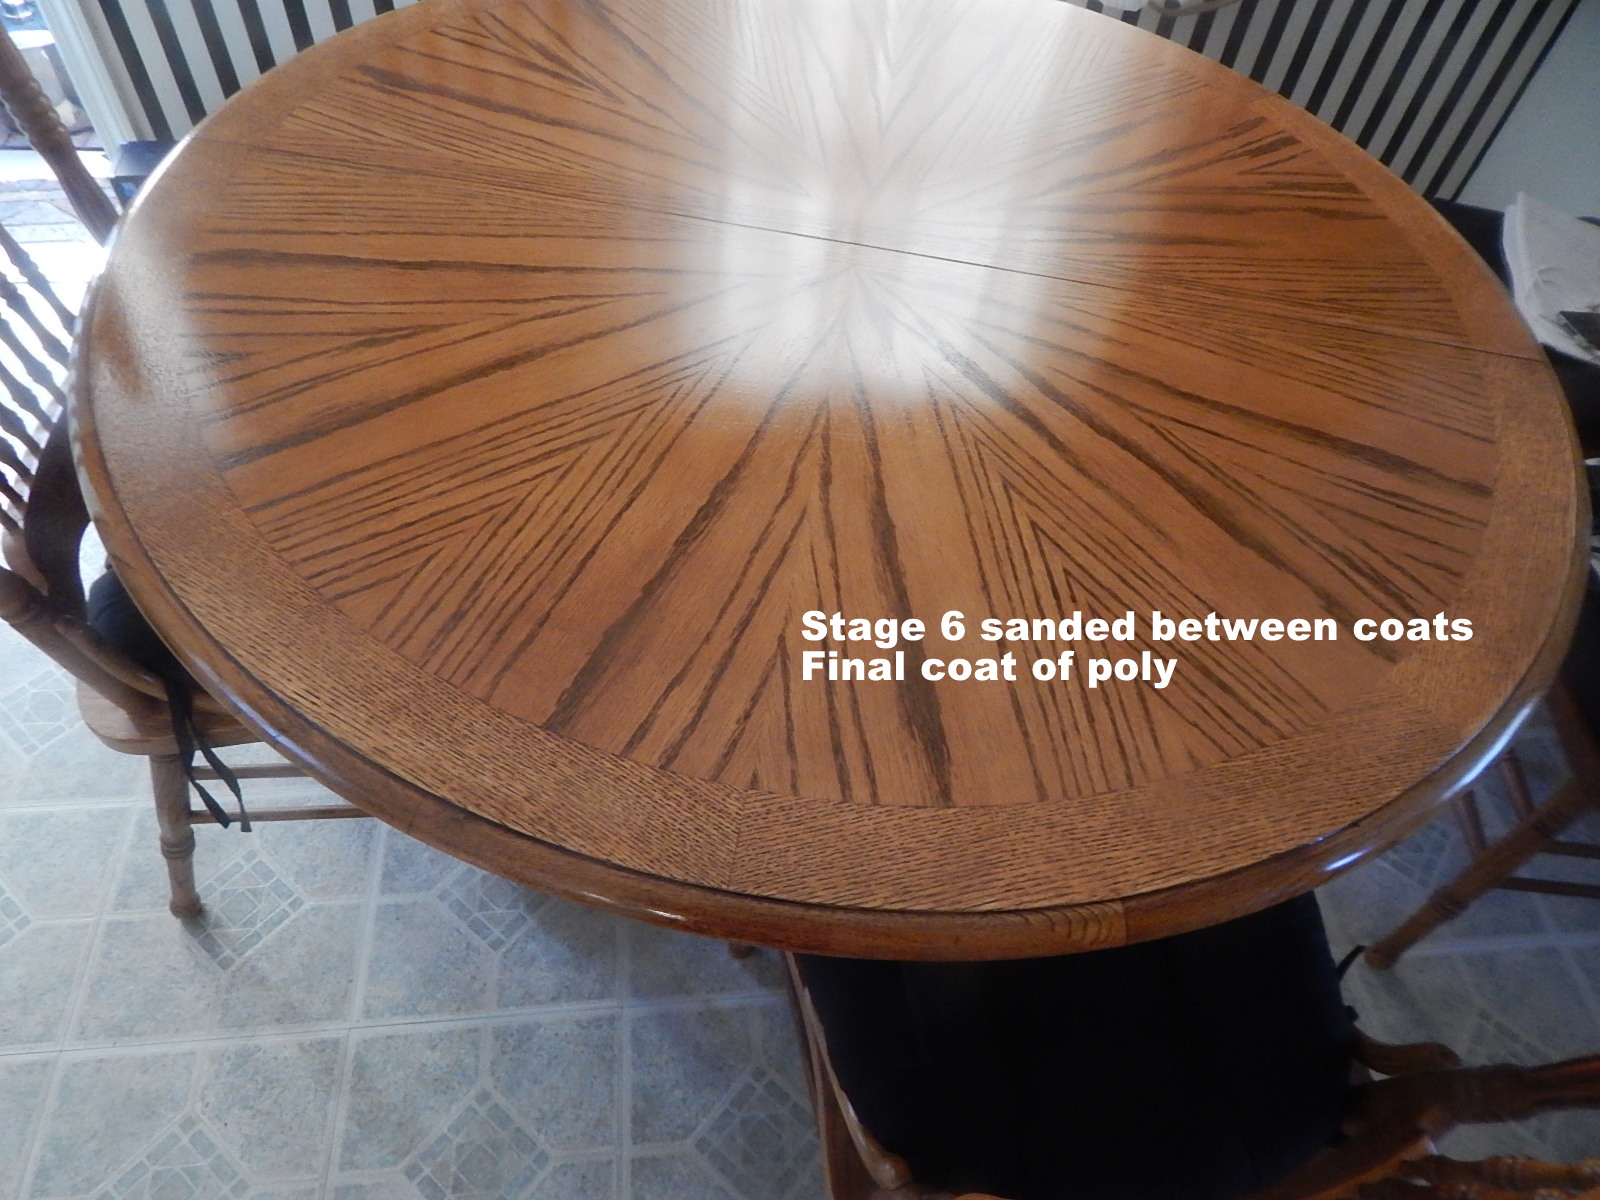
Stage 6 - A very light sanding just to smooth out any bubbles.
Because I used poly - I don't have to use any polish just clean the table with a damp cloth. By adding a little more gloss, which will become less shiny over time with daily use my finish will look great for years and years.
For best results, take the time to prep and always give 24 - 48 hours drying time before each coat.
No comments
Post a Comment